How to Pass the Exhaust Emissions Inspection?
Share This Page
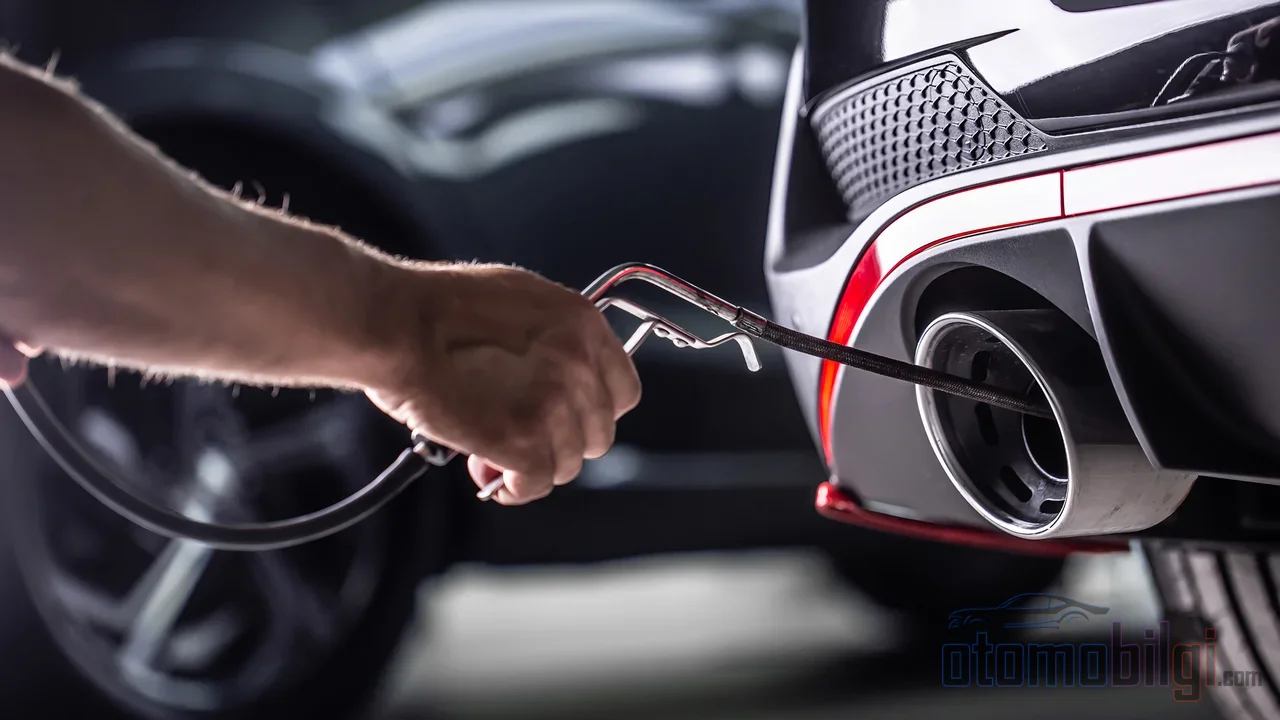
At the inspection station, the probe goes into the exhaust pipe, the device reads the exhaust gas for a few minutes, and the result appears on the screen. At that moment, neither the brand of oil, nor your driving style, nor last week's short trips can save you anymore; the measurement shows the sum of the maintenance done on the vehicle in recent weeks and the engine's condition that day. That is exactly why passing the exhaust emission inspection on the first try depends not on luck, but on systematic preparation that begins a few weeks in advance.
The good news is this: the vast majority of vehicles can be fixed with simple and inexpensive interventions once the problems causing the failure are correctly identified. This page walks you step by step through which checks to have done before the inspection and which fixes significantly increase your chances of passing on the first try.
What Does the Measurement Read? The Meaning of HC, CO and Other Values
Before making a preparation plan, you need to know what the device is looking at, because each fault leaves its trace in a different gas. The two most basic values are HC and CO. HC, or hydrocarbon, is the concentration of unburned fuel in the exhaust and is measured in ppm. If HC is high, it means the engine failed to burn part of the fuel; the classic causes of this are worn spark plugs, ignition misfire, and vacuum leaks.
CO, or carbon monoxide, is reported as a percentage (%). High CO means the fuel has been only partially burned or that oil is getting into the combustion chamber. Modern tests are not limited to just these two; the main emission types such as CO2 and NOx are also measured. In diesel vehicles, soot and particulate matter density is a separate heading.
The line of defense behind these values is the catalytic converter. The converter's efficiency is evaluated by comparing the two lambda sensors in the exhaust line: one works in front of the converter, the other behind it. While the front sensor regulates the fuel/air mixture, the rear sensor verifies whether the converter is doing its job correctly. An important technical fact is this: a faulty catalytic converter can show normal engine performance; the vehicle is driven flawlessly but the emission output does not meet the standards. The P0420 fault code, which triggers the malfunction light, points precisely to this loss of efficiency.
Highlights
- A warmed-up engine is decisive in the test: at full operating temperature, CO measures 4.4% and HC 4.7% lower.
- Do not go in for the test if the Check Engine light is on; in most regions the light counts as an automatic failure.
- After a battery replacement or maintenance, the vehicle needs hundreds of kilometers of driving to reach a ready state.
- A dirty air filter, worn spark plugs, and a loose fuel cap are among the most common and cheapest fixable causes of failure.
- For a loose fuel cap, tighten the cap until it clicks; the light may turn off on its own within a few driving cycles.
Why Is Engine Temperature the Key Variable for Passing on the First Try?
A cold engine burns inefficiently; this directly increases emissions from the exhaust and fuel consumption. The engine's warm-up process has been examined in a measurable way: As warm-up progressed, a decrease of about 2% in CO2, 4.4% in CO, and 4.7% in HC was measured. In other words, if the same vehicle were tested twice on the same day, it could fail on the cold run and pass on the warm one.
The practical rule is clear: before arriving at the test center, drive the vehicle at highway speed for at least 15 minutes, and during this time limit extra loads such as the air conditioner and defroster. Idling is not enough; the engine reaches its correct operating temperature faster and more completely under load. There are also manufacturer data showing that systems like electric pre-heating can reduce cold-start emissions by up to 71%, but the only thing needed on test day is for the engine to arrive at the station warm.
Pre-Inspection Maintenance Checklist
Most causes of failure are routine maintenance items. An ordered checklist saves both your time and your money:
- Engine oil: Dirty or degraded oil causes higher emissions. If the oil change is long overdue, have it done before the test.
- Air filter: A clogged air filter is one of the most commonly recorded causes of failure, and replacing it takes only minutes.
- Spark plugs and ignition: Worn spark plugs lead to incomplete combustion and therefore high HC. Spark plug wires and ignition timing should also be examined in the same check.
- Vacuum leak: It is one of the silent faults that disrupts the fuel/air ratio; a classic but overlooked cause of failure.
- Lambda sensors: A faulty oxygen sensor constantly miscalculates the fuel mixture; it pushes both CO and HC up at the same time.
- Catalytic converter: If there is a P0420 code, do not take the test without having the problem diagnosed; replacing the converter with the correct type and proper installation ensures a pass.
Fuel and Fuel Cap: Small Detail, Big Impact
On test day, arrive with the tank at least half full and filled with fresh fuel. Fuel that has been sitting for a long time or is of poor quality reduces combustion quality; this negatively affects the measurement. Fuel additives that dissolve carbon deposits inside the engine can also improve emissions during the preparation period.
The fuel cap is a separate point of attention. The cap must be the correct type and tight; a loose or incompatible cap disrupts the fuel vapor recovery (EVAP) system and can trigger the Check Engine light in modern vehicles. The cap is so critical that tightening it until it clicks and waiting through a few drive cycles can turn off the illuminated light on its own. With the same logic, avoid overfilling the tank at the pump: continuing to pump after the click causes the excess fuel to saturate the emission control system.
The Check Engine Light and the Readiness Mode Trap
Do not go in for inspection if the light is on. In most regions, an illuminated fault light means automatic failure without even a measurement, and you will have wasted a free attempt. Have the source of the light read and fixed in advance; the problem could be an EGR fault, a sensor error, or a code related to the transmission - even transmission faults can affect emissions enough to push them above certification limits.
A sneakier trap appears when the light is off: the Not Ready status. When the battery is replaced or disconnected, the vehicle computer's memory is reset and the emission monitors cease to be ready. In this case, the vehicle is either not tested or fails. The general rule is this: after routine maintenance, drive at least 100 miles (approximately 160 km) of mixed use, and after a battery replacement, drive at least 200 miles (approximately 320 km). Returning to ready status usually requires 1-2 weeks of daily driving cycles; if you disconnected and reconnected the battery a day before the inspection, do not take that test.
Situations the Test Station Will Not Accept
There are some mechanical and physical conditions that carry the risk of failure even before measurement begins. Knowing them prevents wasted time at the station:
- If the exhaust system has excessive leaks, the vehicle is not tested; the probe cannot take a healthy sample.
- Visible exhaust smoke is a cause of failure before the measurement is even completed.
- Tires with low air pressure make the test difficult on the dynamometer; the vehicle may be rejected.
- Brakes and steering safety are prerequisites for the test; front suspension alignment is also important for front-wheel-drive vehicles.
- If emission control equipment is missing, faulty, or has been removed afterward, the vehicle automatically fails.
Two final notes for test day: overheating the engine can also be a cause of failure; keep the air conditioning off. Prepare the required documents in advance - your license, vehicle registration certificate, insurance document, and the key to the locked fuel cap. After an initial failure, a report filled with repair information is a prerequisite for benefiting from the free 30-day retest offered in some regions.
Frequently Asked Questions: The Light, the Battery, and DPF
Can you take the inspection with the Check Engine light on?
No. An illuminated malfunction lamp means automatic failure without measurement in most regions; first have the fault code read and fix the problem.
How long should I wait after a battery replacement?
At least 200 miles of driving is recommended. Because the memory is reset, the emission monitors come out of ready status; taking the test with only short-distance driving returns a Not Ready result.
Does replacing the catalytic converter guarantee passing?
Yes, if you are sure the fault is really in the converter. A replacement done with the correct type and correct installation enables passing. But a lambda sensor fault can also produce the same symptom; diagnosis first, part later.
Will a diesel vehicle with a deleted DPF pass the inspection?
This is a controversial area. Cases of failing the inspection after DPF/EGR removal are widely reported, and since the removal is against regulations in most places, local regulations should be checked before going down this path. Also, situations can occur where a cracked DPF may damage the related system, one problem giving rise to another.
Final Check: Take These Steps Before the Inspection
About 10% of vehicles fail the emissions test, and the vast majority of failing vehicles come from the old or poorly maintained group. This figure is a picture that can be reversed with proper preparation. The formula for passing on the first attempt can be summed up in one sentence: clear the fault light, refresh the oil, air filter and spark plugs, have the catalytic converter and lambda sensors checked, keep the tank half full with fresh fuel, and arrive at the test center warm by driving at least 15 minutes at highway speed.
This list is not an expensive preparation; most of the items are already part of routine maintenance. The difference lies in timing: if you have the maintenance done two or three weeks before the test rather than a day before, both the problems are fully repaired and the vehicle's computer returns to a ready state. From that point on, the inspection is not a gamble but a measurement that confirms the expected result.
Sources
- How to Pass an Emissions Test
- Testing Tips - Georgia's Clean Air Force
- Top 10 Tips to prepare for Colorado's emissions test
- What do I bring to the test?
- Impact of the Internal Combustion Engine Thermal State
- Using oxygen sensors to identify emissions efficiency
- 5-Gas Diagnostic Chart - Walker Exhaust
- Why Your Car Could Fail an Emissions Test - AutoZone
- DPF/EGR Failed - Need advice - TDIClub forum