Jump-Starting a Battery in Modern Vehicles: The Correct Steps
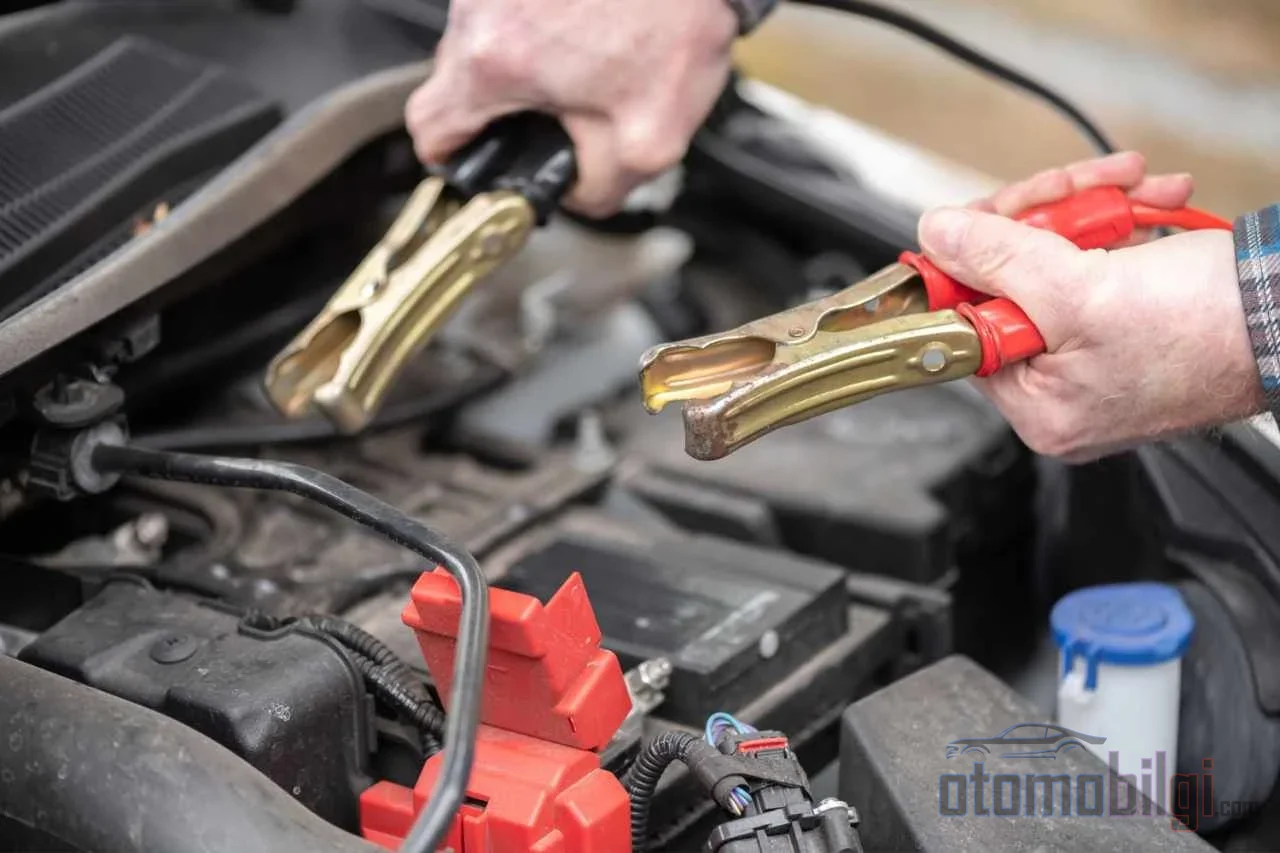
In the morning rush to get to work, you turn the ignition key and get nothing but a single click in return. The radio is silent, and the dashboard either doesn't light up at all or fades away in an utterly sorrowful state. Thirty years ago, this scene would have been resolved more simply: two cars, a pair of cables, and a neighbor's goodwill were enough. Today, under the hood sits not just a battery but dozens of electronic control units far more sensitive than the starter motor. That's why jump-starting is still a simple procedure, but it is now a job whose order, place, and limits need to be well understood.
On this page, we will cover how to safely jump-start a dead battery, the order in which the cables are connected and disconnected, the electronic risks in modern vehicles, and why hybrid and electric vehicles require separate treatment when it comes to jump-starting. The short answer is this: jump-starting is safe when done in the correct order, at the correct points, and with caution; the risk comes not from the procedure itself but from doing it incorrectly.
Preparation: What to Check Before Connecting the Cables
Jump-starting is an operation, and as with every operation, the preparation stage is just as important as the execution stage. First, make sure the jumper cables you have are sturdy and of sufficient cross-section; weak cables won't do the job, and on top of that, they overheat and create a new problem. Make sure the cable clamps do not touch each other or any metal surfaces.
Park the vehicles facing each other or side by side if possible, in a way that prevents them from touching. In both vehicles, the ignition and all accessories must be turned off, and the parking brakes engaged. Headlights, the radio, or the air conditioning remaining on creates an unwanted load during the procedure. The battery in the donor vehicle must have similar characteristics (same voltage class) to the battery in the non-running vehicle; attempting to jump-start a 12-volt system from a 24-volt truck battery ends in disaster.
After opening the hoods, locate the batteries. In today's vehicles, the battery is sometimes not in the visible part of the engine bay; it may be in the trunk or under the seat, with only connection points found under the hood. These points are marked in your owner's manual. Visually inspect the terminal posts: if there is white-greenish corrosion, clean it as much as possible; a dirty terminal prevents good contact. If the battery itself is cracked, swollen, or leaking, do not attempt a jump-start; in that case, the vehicle should be entrusted to a roadside assistance service.
In What Order Are Jumper Cables Connected?
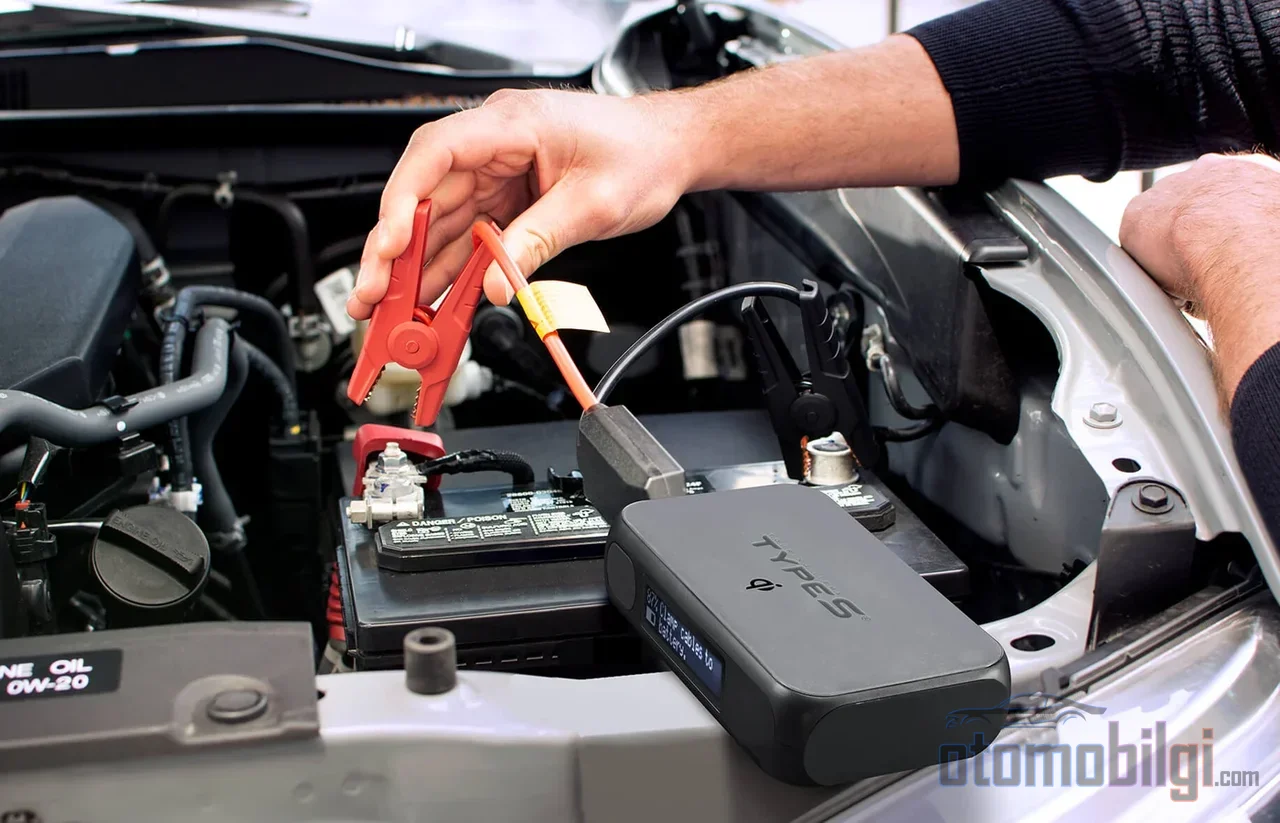
This is the most critical part of the job, and the order of red and black is beyond dispute. The golden rule is this: positive first when connecting, negative first when disconnecting. The connection order is as follows, step by step:
- Attach the red (positive) clamp to the positive terminal of the dead battery. The positive terminal is usually marked with a plus sign and the color red.
- Connect the other end of the red cable to the positive terminal of the healthy battery in the donor vehicle.
- Connect the black (negative) clamp to the negative terminal of the donor battery.
- Connect the other end of the black cable not to the negative terminal of the dead battery, but to a clean, unpainted metal surface at most 30 centimeters away from the battery, that is, a grounding point.
Highlights
- When connecting the cables, the red (positive) cable goes first; when disconnecting, the black (negative) cable comes off first.
- The black cable is connected not to the terminal of the dead battery, but to a grounding point at most 30 cm away.
- After the donor vehicle is started, wait approximately 2 minutes for the battery to charge.
- After the jump-start, continuous driving for at least 30 minutes is recommended; this provides a partial charge.
- In hybrid and electric vehicles, the 12-volt auxiliary battery can be jump-started, but the high-voltage system must never be touched.
Why is the negative cable connected to a grounding point?
This question is the point where drivers, especially those accustomed to the old method, resist the most. Yet the logic is simple: the last clamp connected can produce a spark, and while batteries are working, explosive hydrogen gas accumulates around them. Keeping the spark not right at the battery's mouth but 25-30 centimeters away, at a clean metal point on the engine block, practically eliminates this risk. Yes, there are those who say they connected the negative directly to the terminal for thirty years without burning anything; I did the same in my youth. But testing it at the battery's mouth when you still have the option to choose where the spark will ignite is an unnecessary gamble.
Starting order and disconnecting the cables
Once the connections are complete, make sure no one remains under the hood. First, the donor vehicle is started and approximately two minutes are waited for the dead battery to charge somewhat; this waiting period is especially valuable on a cold day. Then the jump-started vehicle is started. Once the engine catches, the cables are disconnected in the exact reverse order of connection: first the black cable at the grounding point on the dead vehicle, then the donor's negative, the donor's positive, and finally the red cable on the positive terminal of the dead battery. Be careful not to let the clamps touch each other while removing them.
What Can Incorrect Jump-Starting Do to Vehicle Electronics?
The engine control unit (ECU) and body control module, the brain of a modern vehicle, are far more vulnerable components than the starter motor. A sudden voltage fluctuation, known as a voltage spike, imposes a load these modules cannot withstand. A single faulty move can render the ECU, the alternator diodes, or the body electronics unusable. The most serious consequence is a vehicle left completely immobile with a burned-out ECU, and repairing it costs many times more than a new battery.
At the top of the risks comes reversed polarity connection: attaching the positive clamp to the negative terminal can create a wide range of problems, from blown fuses to damaged electronic components, from damage to the battery itself to alternator and starter motor damage. Overheating cables can even lead to a fire. Apart from that, vehicles touching each other, insufficient cranking time, and attempting a jump-start on a damaged battery are counted among the classic mistakes of the process.
Balance is needed here: when done correctly, a jump-start is not a threat in itself to a modern vehicle. The blown fuses and failed control units that people fear are almost always the result of incorrect connections or careless execution. For a driver who knows the procedure, reads the manual, and does not rush, the process is safe. What should be feared is not the jump-start, but the jump-start done with half-knowledge.
Jump-Starting Is Managed Differently in Hybrid and Electric Vehicles
Hybrid vehicles, like conventional vehicles, use a standard 12-volt battery for starting, and this battery can be jump-started when it is depleted. Everything is familiar so far. However, the other side of the matter is important: a hybrid should not be given a jump-start to another vehicle with a classic cable. The hybrid's 12-volt battery is not sized to carry that load, and the vehicle has no conventional alternator. If a jump-start is to be given, the safe way is to connect the hybrid's own 12-volt battery while the vehicle is completely off, and you should only do this if it is explicitly permitted in the manual.
In fully electric and plug-in hybrid vehicles, jump-starting the low-voltage battery is not a jump-start in the classic sense; the procedure varies according to the vehicle configuration. Some models can give a jump-start to another vehicle, some cannot. Therefore, if you own a hybrid or electric vehicle, read the jump-start section in your own vehicle's owner's manual before an emergency day arrives. Whatever the manual says is what applies; not the neighbor's experience. And under no circumstances, in no vehicle, should the orange cables of the high-voltage system ever be touched.
After the Jump-Start: How Long Should the Vehicle Be Driven to Charge?
The vehicle started, and you breathed a sigh of relief. So what now? The general advice is to drive for at least 30 minutes, ideally uninterrupted in light traffic, immediately after the jump-start and not to shut off the engine during this period. This drive allows the alternator to restore some charge to the battery. Compared to stop-and-go heavy traffic, a route that flows comfortably is good for both the battery and your nerves.
However, the other side of the coin must be known here: the jump-start starts the engine; it does not restore the battery. It is often not possible to reliably recharge a severely depleted battery with the alternator. The correct approach is to fully recharge the battery after driving with an external charger, preferably a smart charger. If a few days after the jump-start you encounter the same situation, meaning the need for another jump-start or slow cranking on a fully warmed-up engine, this is a classic sign of low battery capacity, and a new battery will most likely be needed.
In short: How to Jump-Start a Dead Battery?
To sum up: Park the two vehicles so they do not touch, turn off the ignitions and all accessories, and engage the parking brakes. Connect the red cable to the positive terminal of the dead battery first, then to the positive terminal of the donor battery; connect the black one to the donor's negative terminal, and its other end to a grounding point on the dead vehicle. Start the donor vehicle and wait two minutes, then start the boosted vehicle. Remove the cables in reverse order and drive the vehicle for at least 30 minutes without interruption; afterwards, recharge the battery with an external charger and have it tested.
Once learned, this is a task that can be done in ten minutes. But remember: a jump-start is not a solution, it's a breath of air. Without understanding why the battery died, you may need that breath again the next morning.
Sources
- How to jump-start a car safely - Cenex
- How to jump start a car in 10 steps - RAC
- The Right Way to Jump-Start a Dead Car Battery - Firestone Complete Auto Care
- Jump Starting Plug-in Hybrids and EVs - Clore Automotive
- Jump start damage: risks to your car's electronics explained - Autotronics
- What Happens If You Reverse Jumper Cables - CarParts.com
- How Long to Leave a Car Running to Charge the Battery - AutoZone
- What is the Proper Way to Jump Start a Car? - Toyota of Louisville