First Start After Classic Car Restoration

After opening the garage door and looking at that shining classic following a restoration that took months, maybe years... What is a person's first desire? Of course, to turn the key and hear its sound. But wait a second: that moment is not the end of the project, but the beginning of its most critical phase. Because the engine running does not mean the vehicle is ready to hit the road. Brakes, tires, steering, fuel lines... Each of them is waiting to be tested separately. In this guide, I will explain, step by step and in realistic language, how to take a fully restored classic car from its first start-up to regular use.
Are you ready? Let's get started, but without rushing. Because in the classic car world, rushing is the only thing that comes at a high cost.
Before the First Start-Up: Fluids, Fuel and Brake Check
An engine that has sat idle for a long time is like a person returning to the gym after years: the heart is in place but the muscles need a warning. That is why there are things to do before pressing the starter, and none of them should be skipped.
Check the fluids and oil
When checking the engine oil with the dipstick, do not just look at the level; also look at its color and consistency. If the oil on the dipstick looks like rice pudding or cream, this may indicate that water or coolant has mixed with the oil, possibly due to a gasket failure. A mayonnaise-like residue under the oil cap is mostly caused by condensation, but if the same appearance is also on the dipstick, the matter should be taken seriously. Starting an engine without changing the oil in a vehicle that has been waiting for years is also wrong: oil ages with time as much as with kilometers and loses its protective properties.
Do not trust old gasoline
As of 2026, most gasoline contains 10% ethanol (E10) and ethanol-blended fuel undergoes phase separation after about 90 days: it attracts moisture and forms an abrasive varnish layer. If the gasoline is older than four months and lacks stabilizer additives, you need to add at least a few gallons of fresh, high-octane gasoline to the tank. Aging rubber is also a serious issue: fuel hoses and seals harden and crack over time. If you smell gasoline or see a wet fuel trace, stop the starting attempt immediately; this directly means a fire risk.
Brakes: a running engine does not mean a stopping car
Write this sentence down somewhere, because it is one of the most expensive lessons in the classic car community. In storage, brake components can seize; brake fluid attracts moisture. If the pedal feels soft like a sponge or sinks under pressure, there is air or moisture in the system, and a bleed procedure is required. The color of the deposits on the ground also gives a clue: if clear, it is condensation; if black or brown, engine oil; if green-pink-blue, coolant; if amber, a brake fluid leak. If a brake fluid trace has been seen, the vehicle must not be used under any circumstances. Never use the first test drive to find out whether the brakes work.
Highlights
- E10 gasoline undergoes phase separation after 90 days; no starting attempt is made before fresh gasoline is added to old fuel.
- On first start, the engine should not be kept idling for long; break-in requires high pressure.
- The first drive should not be short; it should last at least 20-30 minutes so that the moisture in the sump evaporates.
- A healthy battery reads 12.6V; below 12.2V it struggles during cold starts.
- Even if the engine runs, the car should not set off without separately checking the brakes, tires and steering.
First Start Protocol: From Dry Cranking to Controlled Start-Up
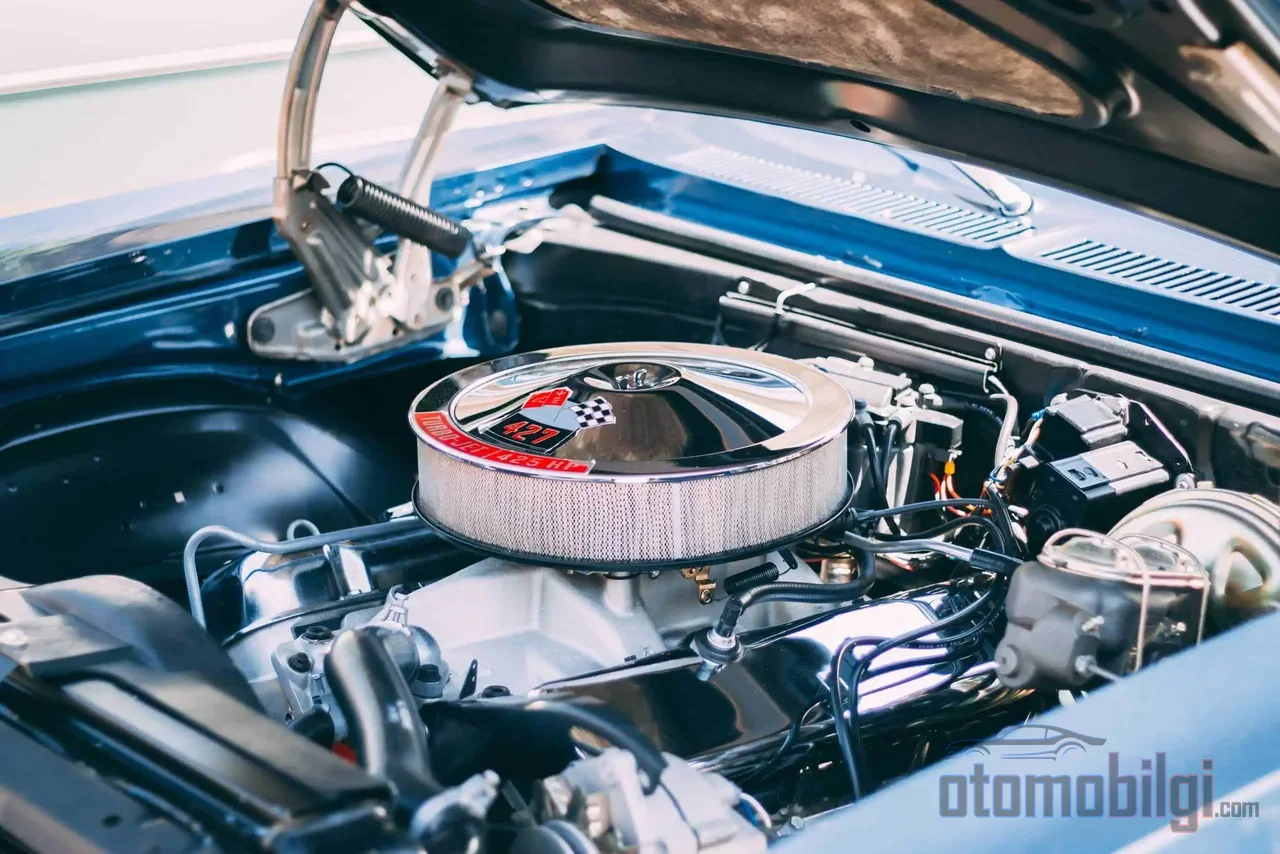
Now we have come to the exciting part, but we will still stay cool-headed. The first rule: do not press the starter motor without making sure the engine turns by hand. Cranking a locked or seized engine again and again damages the components inside. The cause of the lock-up could be internal corrosion, a previous mechanical failure or a seized component; trying to start the car should not take priority over understanding why it does not run.
Dry cranking method
In an engine that has been sitting for months, all the oil has drained back to the sump, and the cylinder walls and bearings are dry. The solution is simple but effective: pull the fuel pump fuse or disconnect the ignition coil plug, then crank the engine for 5-10 seconds. Once the oil pressure gauge rises or the oil light goes out, put the fuse back and perform the real start. This way, the engine meets its first combustion already lubricated. A simple analogy: it is like warming up before exercise; nobody gets out of bed and jumps straight into the 100-meter dash.
What should you watch for at the moment of start-up?
After the engine starts, your eyes and ears become an alarm system: watch for oil pressure warnings, fuel-oil-coolant leaks, a rapid temperature rise, knocking sounds and unexpected smoke. If the sound is seriously wrong, stop the engine without hesitation. On the electrical side, be careful too: before connecting the battery, the wiring insulation, ground points and rodent damage should be inspected. A battery left completely empty for a long time may not recover properly; a jump-start may not be the best solution for every classic; slow charging is generally a safer route.
Break-In Process for Newly Rebuilt Engines
If the engine has been renewed during restoration, the first start-up rules become a bit stricter. With a rebuilt engine, the aim is to properly complete the break-in, that is, for the piston rings and cylinder bore to seat properly against each other. The most critical point here is this: proper break-in of the rings requires high pressure, and long idling does not provide it. At idle, the engine cannot generate enough pressure for the break-in process; therefore the engine should not be left idling for long periods.
The recommended method in practice works like this: before starting, all fuel, oil and water connections and clamps, the distributor clamp screw and the firing order are checked again. Once the engine runs, the rpm and cold oil pressure are noted; listen to whether the valve train is quiet. Blipping the throttle briefly during idle and waiting a few minutes, then warming the engine up and completing the process with a short drive is a common approach. The cycle is repeated a few times after the engine has completely cooled down. Using conventional oil during the break-in of a newly rebuilt engine is also one of the recommended approaches in classic car practice.
Test Drive: What Should Be Watched in the First Kilometers?
The engine is warm, there are no leaks, the brakes have been bled. It is time for the first run. But this run should be a controlled trial rather than a neighborhood cruise. Safety systems should be tested before driving: the most sensible method is to back out of the garage slowly and try the first brakes right there, without letting speed rise at all.
During the break-in period, brake temperature readings being close to one another side by side and taking radiator temperature measurements show that the vehicle is running in a balanced way. The rough sound heard in the first stops with disc brakes is usually the cleaning of the thin rust on the rotors; there is no need to panic. But note every oddity you feel: strangeness in the steering, softening in the pedal, pulling to one side... That means the vehicle is telling you something.
There is also a warning about the fuel tank: avoid driving with an almost empty fuel tank; the accumulated impurities in the tank can be drawn into the fuel system. And do not fall into the trap of keeping the first drive short: the engine should be warmed up slowly and driven for at least 20-30 minutes so that the moisture in the sump evaporates and the oil sludging is prevented. Not straining the engine and transmission while cold is also the golden rule of this period.
Getting Used to Regular Use: The First 30 Days
The first days are a kind of triage period: whether there is a fuel smell or a visible leak, whether the brake and steering feel is right, all are evaluated with cautious short drives. As the vehicle is used, the bearings are lubricated and the seals settle; classic cars are happy with regular use. Cleaning the vehicle after dusty and dirty outings should become a habit not only for looks, but for longevity.
Meanwhile, let us also debunk a myth: it is thought that occasionally running the car in the garage for short periods is beneficial, but in reality this habit causes more damage through condensation, fuel dilution and moisture accumulation than it prevents. Either do a full and meaningful drive or do not touch it; the middle ground harms classics.
Inspection and Insurance: The Last Doors Before Hitting the Road
Even if everything mechanical is in order, the vehicle must have passed inspection and have valid mandatory traffic insurance in order to legally go on the road. The inspection covers a wide range from the brake system to lighting; inspection stations check the validity of the vehicle's mandatory traffic insurance through the system, and if the insurance has expired, the inspection is not performed. Not missing the inspection deadline is the most critical point; making an early appointment for a vehicle whose date is approaching is a smart plan for the classic car owner. After the inspection, a digital inspection report is created.
The Most Common Mistakes Made by Beginners
To sum up, here are the classic mistakes that lead to costly risks during the first start-up process:
- Starting it up with old hoses and seals without performing a leak check: fire risk.
- Setting off immediately after first starting the engine, without checking the brakes.
- Keeping a freshly rebuilt engine idling for a long time, preventing proper break-in.
- Using gasoline containing ethanol that is more than four months old without diluting it with fresh fuel.
- Cranking an engine that may be locked repeatedly; without first verifying rotation by hand.
- Trusting tires with sufficient tread depth but that are aged, cracked, or have flat spots.
Here's a memory from me as well: those dramatic first-start videos on the internet can be misleading. Behind that moment that lasts seconds on camera lie hours, sometimes days, of preparation and inspection. Do the same: prepare the stage, then raise the curtain.
Here is the summary of the summary: safely getting a fully restored classic car on the road is a systematic commissioning process. Every step, from oil and fuel checks to dry cranking, from a controlled first start to break-in drives and inspection and insurance procedures, is a safeguard for both your safety and your effort. Don't rush; that classic is ready to carry you for years, as long as you get its first days right.
Sources
- How to Start a Classic Car That Has Been Sitting for Years
- How to Start a Car After Winter Storage - An 8-Step Safety Checklist
- Restoration Break-In - Moss Motoring
- 13 steps to ensure you don't blow up your engine on first start-up
- Checklist Before First Startup For A Fresh Rebuilt Engine
- Breaking in a Rebuilt or Built-Up Engine - Autoweek
- TÜVTÜRK official website