How to Restore a Classic Car's Interior?
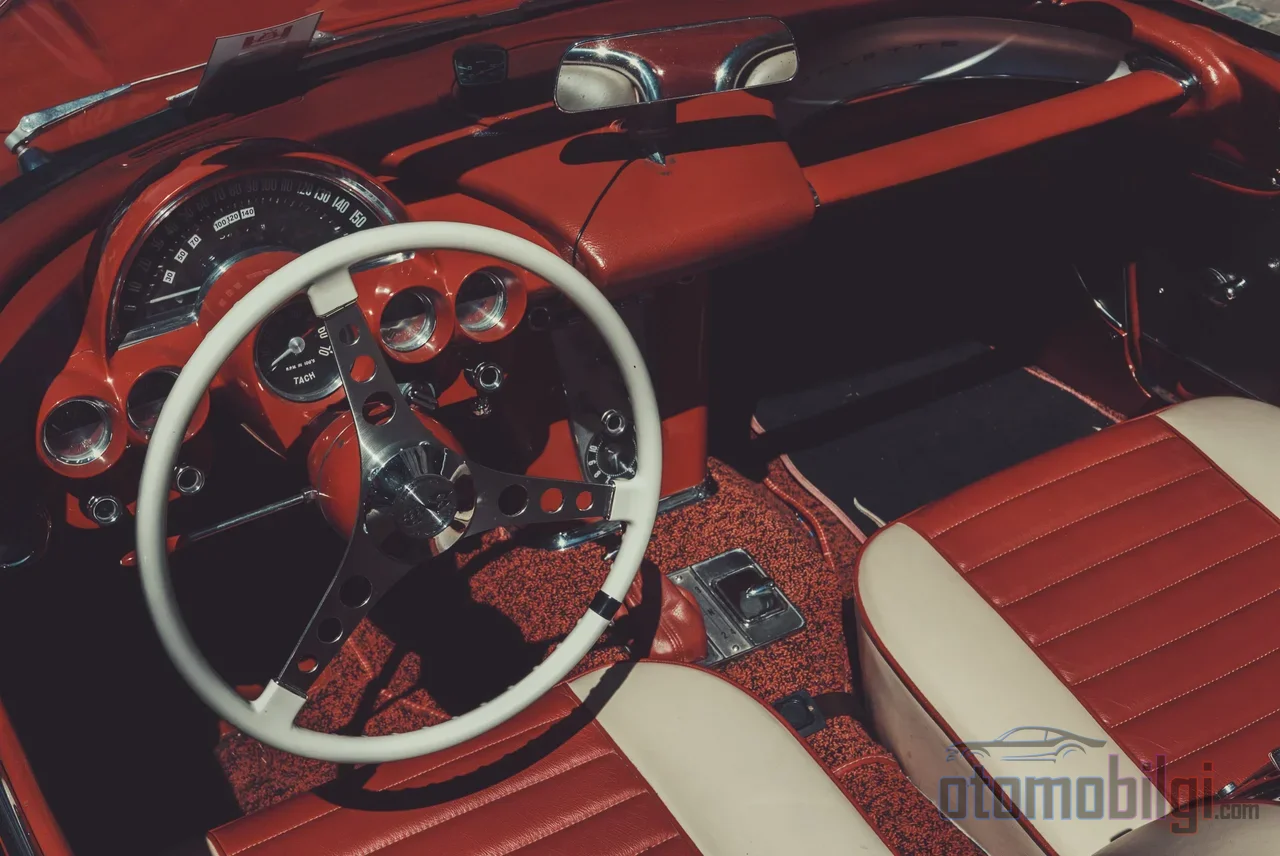
Let's admit it: when we first see photos of a classic car, we all look at the bodywork and paint first. But the moment you sit inside the car, things change. A collapsed seat, a sagging headliner, a cracked dashboard... The interior is the only place where you actually touch the car, and if it's in bad shape, no matter how brilliant your paint is, the car just never says "drive me" to you. So how is classic car interior restoration done, which jobs do you do yourself, and which do you leave to a professional? Let's walk through it step by step.
Before Starting the Restoration: Take Photos, Label Everything, Throw Nothing Away
Do you know which moment is the most exciting? The moment right before you start unscrewing bolts. Because from that point on, it's all about discipline. The golden rule of interior restoration is this: before you start disassembly, photograph and label every screw, clip, and plastic part. Finding modern equivalents for small parts on classic vehicles can be a nightmare; if you lose an original clip, getting it back is far harder than you think. Put every part in a bag and write on it what it belongs to. Your future self will thank your present self.
The second critical point: check the floor pan and structural integrity before stitching a single seam on the upholstery. When you remove the carpet, you may come face to face with rust, and if there is rust, metalwork comes first, upholstery later. There's also a nice side benefit: when the carpet comes up, you'll usually find the factory sound insulation brittle and ineffective. Fitting modern heat and sound insulation at this stage is a great opportunity for both quietness and comfort.
And there's one more thing: never throw away a worn original upholstery cover. Even if it's too torn to be usable, it's invaluable as a pattern and stitching reference for the new pieces. The old part is the map for the new part.
Highlights
- Classic upholstery restoration starts at around $700-2,500 per seat; a complete interior package can reach up to $30,000 at concours level.
- You can't fix a collapsed seat with a new cover alone: you must first look at the frame, springs, and foam layers.
- For the original color, look not at the faded surface but at areas that never see the sun, such as under the seat.
- Small cracks on the dashboard and glass are visibly revived with a single day of detailing work.
Diagnosing a Collapsed Seat: A New Cover Doesn't Solve Everything
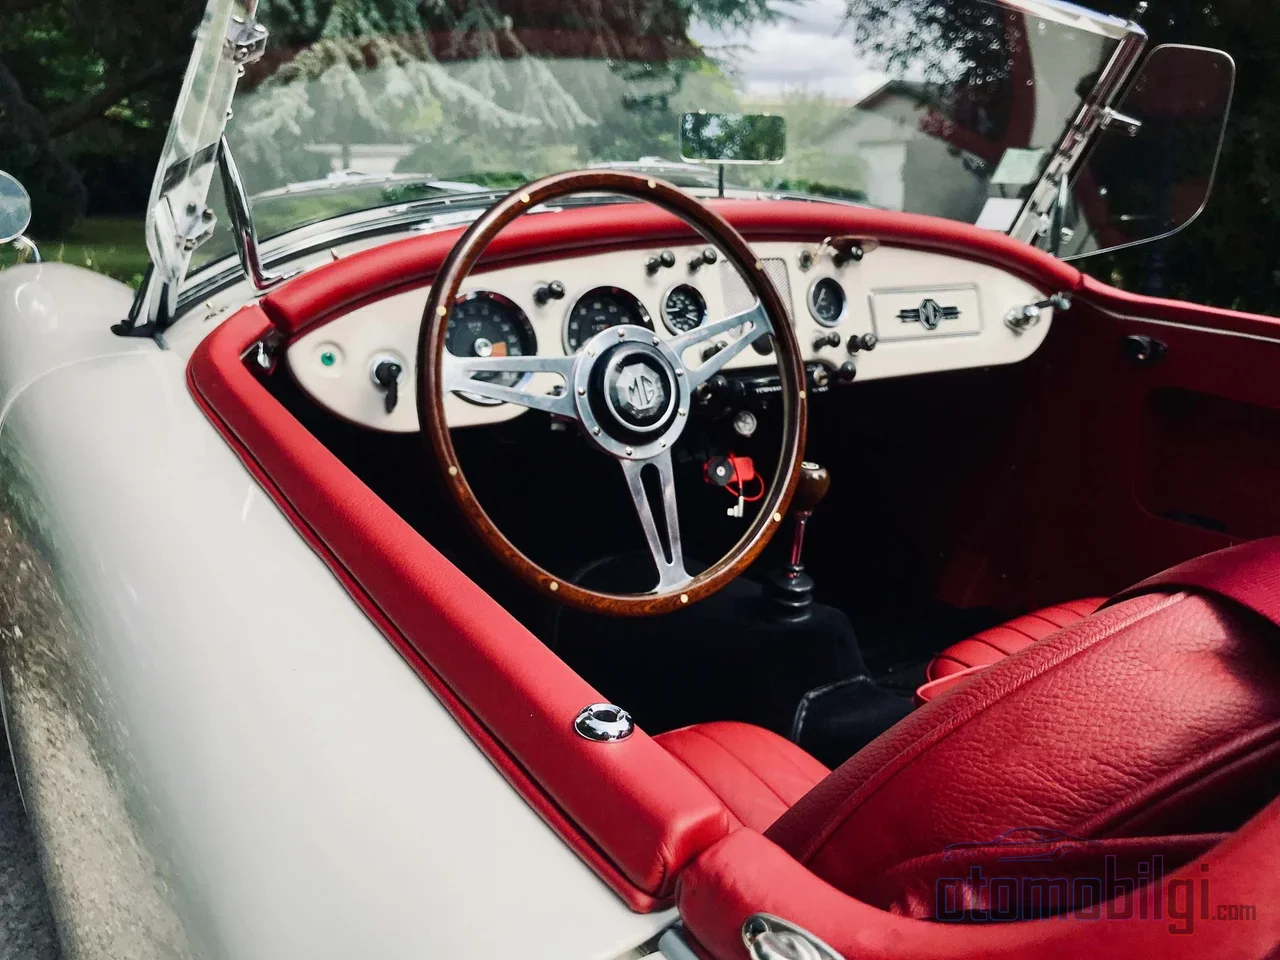
The most common mistake is this: the seat has collapsed, it's immediately reupholstered with new fabric, and three months later the seat has collapsed again. Why? Because a new cover or extra foam can never fix a weak seat frame. Interior restoration is like an onion: it's peeled layer by layer, and each layer has its own problem.
You can make the diagnosis with simple observations. If the seat sags to one side, there is most likely a broken spring or frame damage. If you feel metal underneath while sitting, the padding layer is worn out. If the seat doesn't lock, there is a loose connection or a rail fault, and this is a direct safety risk: That seat should not be driven on.
Spring systems and foam renewal
Classic seats use coil springs, zigzag springs, wire grids, rubber membranes or elastic strap systems. It is impossible to know which one is installed without removing it and looking, so inspection is essential. The subtlety here is this: you cannot fix a broken mounting point by replacing a spring; connections improvised with household wire do not provide the original support, and incorrect tension ruins both the seating height and the fabric's seating posture. Foams that are broken, permanently compressed or hardened must be replaced; model-specific molded foams restore the original contour.
It is not just foam inside either: old seats contain layered fillings such as cotton and jute, and replacing them with a single thick modern foam block completely changes the seat's character. The right way is to rebuild the original layered design. The fabric sack and felt layers running over the springs separate the metal edges from the fabric; the listing wires that determine where the seams will sit are just as important. A missing layer leads to early wear within months.
Fabric, Leather, or Vinyl? Material Selection and the Originality Balance
Here is the most enjoyable part of the project, but also the decision that sparks the most debate. Your options are roughly as follows:
- Vinyl: in most mid-century vehicles, this was already the factory material. Durable and easy to clean. So the "vinyl as scapegoat" perception is not really fair historically.
- Leather: offers a more premium look, but you pay for it with maintenance; if neglected, it cracks. It is also not budget-friendly.
- Fabric and linen: in the 70s and 80s, the address for original patterns. Finding period-correct fabric is hard, but if you find it, the result looks truly authentic. Nylon, on the other hand, is a durable, budget-friendly and stain-resistant alternative.
Let's add a historical note here: most of the coverings listed as "artificial leather" in old-era catalogs were actually fabric coated with PVC. So the "leather" in your grandfather's vehicle may never have been leather at all, and knowing this helps you choose the right material. Old-stock, i.e. NOS-production OEM fabrics are available, as are suppliers offering nearly 120 different upholstery fabrics for classic Mercedes and Porsche vehicles; for owners of rare vehicles, this market is surprisingly wide.
How do you find the original tone
The biggest trap in color selection is looking at the faded original surface. The sun has played with that color for years. The correct way to determine the original tone is to look at protected areas that have not seen light, such as under the seat or behind the trim. In the material, it is not just the color; the texture pattern, sheen, thickness, sewing thread and piping profile also determine authenticity. A very glossy leather ruins the vehicle's authenticity, a very thick material changes the seat's contour, and a very thin material wears out early.
So is it always a one-to-one original? No need. A concours-level restoration demands materials close to original specification, but for a classic in daily use, modern support layers and improved foam are a perfectly reasonable balance as long as you stay faithful to the look. If you're taking the car onto the road and not into a museum, comfort is not a crime.
Sagging Headliner: Repair or Replace?
A sagging headliner gives an impression of "neglect" the moment you look at the car; it's a small detail, but its impact is big. If you watch videos online, replacement looks easy, but real success is built on the right tension and the right adhesive.
The rule is simple: if the sag is minimal and the fabric is still flexible, repair is possible. Foam-backed fabric headliners, common in vehicles from 1970-1990, can be re-glued with high-temperature headliner adhesive. But if the headliner board is cracked or warped, or the fabric has degraded, a full replacement is required. In board-type headliners, the seams must align with the locations of the headliner bows, and wrinkles are smoothed out with a heat gun. Also keep this in mind: every cracked panel doesn't require replacement. so the job can be bigger than it appears. Decide after identifying cracks and warps - don't have the glass removed first.
Door Panels, Dashboard and Hidden Wires
The most common enemy in a door panel is moisture: the cardboard backing panel warps from moisture and the clips become brittle. The smart solution is to re-cut the panel with a moisture-resistant ABS plastic backing while preserving the original trim details. The dashboard is the car's jewelry; cleaning the gauge glass and repainting the needles provides a serious improvement even in a single day's work. Repair kits are also available for small leather and vinyl tears; not every crack requires a panel replacement.
There's also an opportunity that emerges when the interior is completely stripped: access to the wiring becomes perfect. Checking brittle wires and previous owners' somewhat "creative" repairs at this stage is the best time to avoid surprises on the road. You don't want to install the trim and then strip everything down again to do the same job.
Do It Yourself, or Leave It to a Professional?
The honest calculation is this: model-specific foam replacement and simple cap kits are jobs an experienced owner can do. The required tools aren't big either: hog ring pliers and rings, trim removal tools, high-temperature spray adhesive, a heat gun and jute padding are largely sufficient. Buying a complete model-specific upholstery kit significantly reduces the risk of mistakes.
On the other hand, this craft "does not forgive". A single wrong cut in a $1,200 leather piece or a damaged screw in a rare panel can turn the DIY project you hoped would save money into an expensive nightmare. Seat frame sourcing, track and latch damage, extensive corrosion and fragile original upholstery restoration are specialist work. The professionals' process roughly works like this: consultation, disassembly and documentation, extracting new patterns from old covers, frame and spring repair, foam renewal, upholstery and installation, final inspection. You don't have to have every piece done at once; many people start with the most visible part, usually the front seats. What matters is that the first stage fits a long-term plan. The winter months when the car isn't on the road are ideal for getting started.
How Much Does Interior Restoration Cost?
Let's look at the numbers honestly, so you don't end up asking "since when has interior work been this expensive?" For the US market, classic upholstery restoration per seat starts at around 700-2,500 dollars. On 60s and 70s American classics, daily-driver-quality seat and interior trim work averages 3,500-8,500 dollars; a complete interior refresh runs 7,800-16,500 dollars at the same quality, while concours level ranges from 14,200-32,000 dollars. In Turkiye, renewing the interior upholstery with original fabric or leather is priced between 20,000-50,000 TL, and hand-painted finishes between 50,000-100,000 TL. In Istanbul, small jobs like headliner repair start from around 3,000 TL.
| Job | Quality | Approximate Cost |
|---|---|---|
| Upholstery per seat | Classic restoration | 700-2,500+ USD |
| Seats and interior trim (60s-70s American) | Daily driver | 3,500-8,500 USD |
| Complete interior | Daily driver | 7,800-16,500 USD |
| Complete interior | Concours | 14,200-32,000 USD |
| Interior upholstery (fabric or leather) | Turkiye | 20,000-50,000 TL |
| Headliner repair | Istanbul | Starting from 3,000 TL |
Prices vary by market and the level of quality you expect; the ranges here are for reference, not a contract.
The Most Common Beginner Mistakes
- Unplanned disassembly: starting without photos or labels creates a puzzle with no way back.
- Throwing away old parts: even worn original covers are a reference for patterns and stitching.
- Replacing parts just because they're old: parts whose function isn't finished should be preserved; restoration is controlled correction, not junk collecting.
- Over-restoration: renewing everything erases the car's character; sometimes less is more.
- Skipping structural inspection: upholstering over a rusty floor is throwing money at a wall.
Final Word: Interior Restoration Is a Marathon, but the Race with the Sweetest Prize
Let's wrap up the answer briefly: classic car interior upholstery restoration begins with photographed disassembly and documentation; after rust and structural inspection, the frame, springs and foam layers of the seats are repaired in order; in material selection, the original tone determined from sun-protected surfaces serves as the guide; the headliner, door panels and dashboard are repaired or renewed according to their own condition. While an experienced owner can handle simple cover and foam work, jobs requiring welding, demanding headliner tensioning, or involving rare parts should be left to a professional. From a roughly $700 single seat to a $30,000 concours package, on this journey your budget depends on what kind of relationship you want to build with the car.
Also keep this in mind: if you are dealing with a convertible classic, having the top and the interior done in the same shop and according to the same plan offers both color consistency and the advantage of a single disassembly. And there is no single right answer to the question of whether you will return to original or go custom; your goal, your budget, and your timeline determine the answer. Because the real reward of this project is that the seat feels exactly the way you wanted it to when you sit in it for the first time. Good luck!
Sources
- Classic Car Interior Restoration Guide
- How to Fix Sagging or Collapsed Classic Car Seats
- Classic Car Interior Restoration
- DIY Classic Car Interior Restoration Guide On A Budget
- Classic Car Upholstery Restoration Example
- Vintage Restorer's Guide Glossary
- MEB/MEGEP Cabin Interior Equipment and Upholstery Module
- Classic Car Restoration
- What It Actually Costs to Restore a Classic Interior
- Istanbul Vehicle Headliner Upholstery Repair Prices