Classic Car Restoration in Your Home Garage
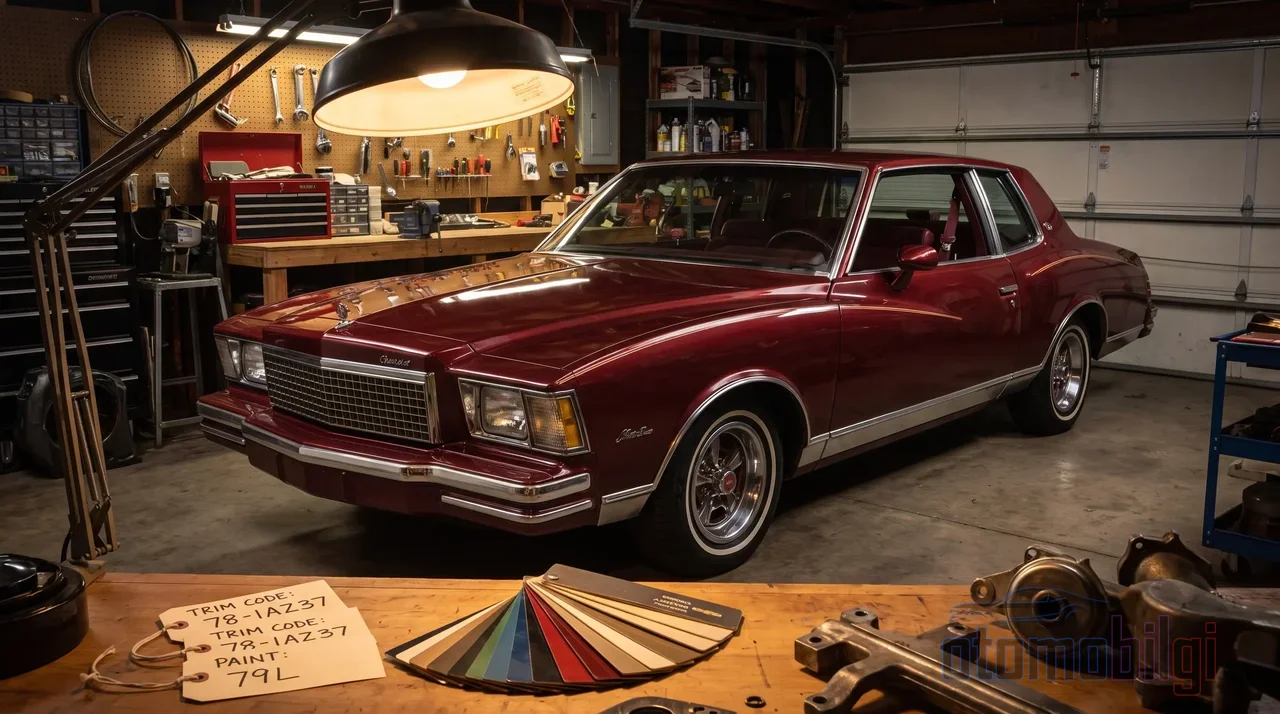
Let's ask the question openly: What equipment do you really need in a home garage for classic car restoration? The answer is not as scary as most people think - but the job depends less on the tool itself and more on knowing its order. I know plenty of enthusiasts who eagerly sank their entire budget into a welding machine and three months later still couldn't loosen a single bolt. On this page, you won't need to fall into that trap; together we will build an equipment plan that grows step by step and takes shape according to your wallet and your garage.
Where to Start with Restoration: The Tool or the Car First?
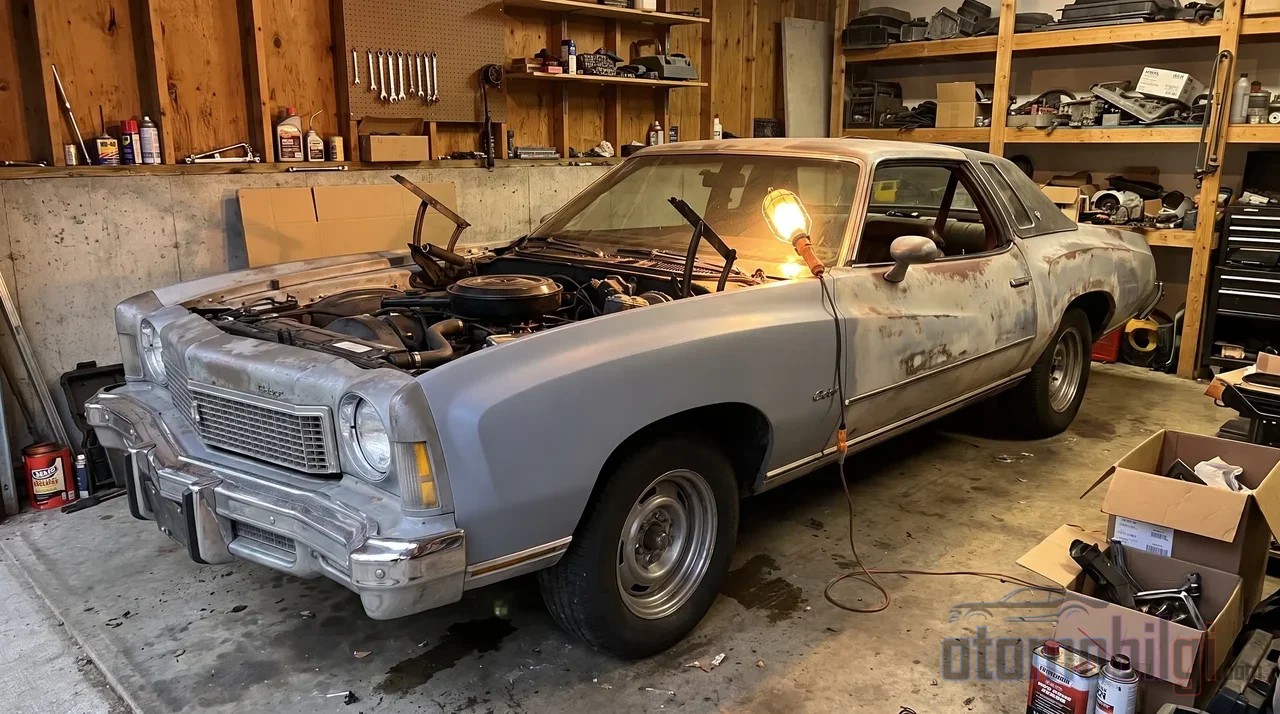
It may sound counterintuitive, but the first piece of advice is this: buying big tools before buying the car is the most common and most expensive mistake. First find your project, then look at what that project really demands from you. As you gain restoration experience, one clear truth emerges: it is not the number of tools that gets the job done, but planning and experience. If your core set is disciplined, it can do what a massive wall of tools does.
And there is one more thing: in a classic car you will encounter connections that have not moved for decades. Softened, rounded-off bolts; nuts stuck in rust; fragile trim pieces that crack at a glance… Keeping durable tools in the right sizes and types is essential precisely for this reason - a cheap socket set can end up costing far more when it ruins an original part during removal.
Stage One: The Truly Essential Basic Equipment
Highlights
- The core lifting set is reasonably priced: a pair of three-ton jack stands costs about 50 dollars, and composite ramps are around 60 dollars
- Measurement and inspection tools earn you more money than fabrication equipment
- Most paint defects occur during the preparation stage, before spraying
- Leave structural rust repair, chassis work, paint application, and complex engine rebuilds to professionals
- The principle is clear: buy cheap, buy twice
Hand Tools: The Backbone of Disassembly and Assembly
The backbone of the job is classic hand tools: socket and ratchet sets in multiple drive sizes, combination wrenches, screwdrivers and nut drivers, pliers and locking pliers, side cutters, hammers and rubber mallets, pry bars, torque wrenches, and hex and Torx sets. And two legendary pieces: the breaker bar and trim removal tools. The breaker bar is your most honest friend against that rusty nut; the trim remover is your insurance for removing plastic panels and rubber seals without breaking them. Alongside them, add oil drain pans, plenty of rags, wooden blocks, and one critical warning: buying cheap tools and breaking an original part is more expensive than buying good tools.
Jacks, Stands, and Keeping the Car in the Air
Even in a small garage, a quality floor jack and heavy-duty jack stands are core equipment; you will use them constantly in wheel removal, suspension, and fuel system work. The pricing side is not discouraging either: a pair of three-ton jack stands can be found for about 50 dollars, and composite ramps for about 60 dollars. There is always the debate of jack stands vs. lift - lifts are safer, faster and open up more repair options, but the choice should be made based on vehicle type, workshop height, floor conditions and of course budget. Two-post lifts and two-platform scissor lifts are the most universal options for small workshops; portable lift pairs also offer a more stable middle ground than stands by lifting the vehicle's front and rear.
Eyes, Ears, Lungs: Measurement and Lighting
My favorite fact about this is: inspection and measurement tools earn you more money than fabrication tools - because they prevent buying the wrong vehicle or starting the wrong job. A flashlight and inspection lamp, a magnet for putty detection, gap and alignment measurement, and a compression tester for basic engine evaluation go on the list. Calipers, micrometers, straightedge rulers, dial indicators, multimeters, test lamps and vacuum gauges are the silent heroes of mechanical work too. As for lighting: even if there are lamps as bright as the sun on the garage ceiling, the light is never enough under the vehicle and in the wheel wells; magnetic-base, battery-powered work lamps are lifesavers. Think about it: the dentist has a lamp, so why shouldn't our garage?
Safety: Part of the Tool List, Not a Decoration
There are no spare parts sold for your eyes, ears and lungs. Safety glasses, gloves, ear protection, welding helmet, respirator, fire extinguisher, jack stands and safety accessories, and ventilation should be written at the very top of the list. Cases of people returning from the hospital after removing the guard in an accident that shattered a grinding disc are real - removing grinding guards is never wise. And then there's organization: a rolling tool cart, parts boxes, magnetic trays, labeled bags and a sturdy workbench end the bolt-hunting marathon on assembly day. On the electrical side, there's good news: angle grinders and drills have largely gone cordless, meaning you can make progress on some jobs even without running a power line to the garage.
Phase Two: The Garage Should Be Ready When the Engine Comes Out
The core mechanical stage brings the engine hoist, engine stand, transmission jack, job-specific pullers and installers onto the list. The engine hoist is critical for removing the engine from the chassis; while the engine stand makes working life much easier since it allows access by rotating the block, crankshaft and cylinder head. But don't rush here either - buy this equipment when the engine actually decides to come out. The things owners regret buying early the most include heavy fabrication equipment, large compressors with no clear use, and one-off specialty tools.
Phase Three: What's Needed for Rust, Sheet Metal and Paint?
The bodywork and rust work list goes like this: angle grinder, cutting tool, body hammer and dolly set, stud welder, welding clamps, tin snips, spot weld drill, sanding blocks, pneumatic sanders and putty scrapers. On the paint preparation side, there is a dual-action (DA) sander, media blasting equipment, masking supplies, spray gun, air compressor, moisture separator, and polishing tools. And the golden rule of this section: most paint defects come not from the spray gun, but from the preparation stage. Anyone who finds sanding and surface preparation boring pays the price in the finished, polished result.
As for the sheet metal shaping machine, the recommendation from experienced names in the restoration community is clear: a shrinker-stretcher machine should be the first major investment, and a folder the second; with these two and basic hand tools, most classic car panels can be shaped at home. As for the seemingly legendary English wheel - ninety percent of people do not need it first; it is only useful for those restoring coach-built vehicles with bodies made entirely by hand. There are also beginner traps: starting out with powerful engine-powered pulls and presses does not speed things up; going faster for a beginner just means getting tangled up faster.
It is often mentioned that one of the most used tools in long-term projects is actually a blasting cabinet: a medium-sized cabinet is ideal for cleaning parts such as carburetors, manifolds, and rocker arms. And once again that golden principle: buy cheap, buy twice. A quality tool has spare parts available and comes with a warranty.
The Limit of Working at Home: Which Jobs Should Be Left to Professionals?
Here is where we will be honest. A home garage is a place to start and learn, not a place where nothing gets finished. Structural rust repair, chassis and frame work, paint application, and complex mechanical overhaul work should be left to a professional workshop - attempting these jobs without equipment and experience ends up costing far more in the long run. The truth is, basic tools cover most jobs, but specialized work demands professional equipment and professional hands.
Videos of quick rust repairs without welding are plentiful online and can be useful for small jobs. But for example, in a complete fender replacement, the entire fender needs to be painted; otherwise a color difference appears and a surface blending process becomes essential. This is not a job that can be brushed over - and this is exactly where the line is drawn.
The Budget Reality: How Much Does Restoration Cost?
Let's look at the numbers, because the distance between dreams and budgets is measured here. The cost items compiled for the Türkiye market are as follows: original fabric or leather for interior trim in the 20,000–50,000 TL range, and hand-painted paintwork in the 50,000–100,000 TL band. In previous news reports, the restoration of a scrap-condition vehicle was an item that could exceed 400,000 TL; the currency of these figures should always be questioned, because prices change rapidly. On the time side, similar reports stated that the job took at least 6 months and at most 1.5 years - a range that flexes depending on the vehicle and parts availability. On the US side, old forum estimates for a complete restoration of muscle cars from the '60s and '70s were around $20,000; still, every car is different.
Two more important cost principles: there is no guarantee of profit when selling after restoration - this is not an investment vehicle, it's a passion project. And whenever possible, original, i.e. OEM parts should be used; especially in high-cost restomod projects, a return on investment is generally not expected. When choosing parts, you will strike a balance between authenticity, availability, condition, and cost.
Inspection and Insurance of a Home-Restored Car
A car that comes out of the garage also needs to get on the road. Under the Turkish system, private cars are exempt from inspection for the first 3 years; after the first inspection, an inspection is required every 2 years. When going for the inspection, you must have the vehicle registration certificate, a Turkish ID card or driver's license, a valid traffic insurance policy, and an exhaust emission measurement report - if the insurance has expired, the inspection is not performed. If the inspection is not carried out, a fine is issued on the road and an inspection becomes mandatory within 7 days. In short, the freer the restoration phase, the more rule-bound the getting-on-the-road phase; plan both together.
So Which Tools Are Really Necessary, and Which Are a Waste of Money?
The short and clear answer is this: basic hand tools, a quality floor jack and jack stands, measuring instruments, lighting, and safety equipment are essential from day one; an engine hoist, bodywork sets, welding, and paint equipment should be bought only when the job really reaches that stage. Cheap torque wrenches and cheap fabrication equipment are the most common cause of rounded bolts and damage to original parts; more tools don't speed up a restoration - planning and experience do. Evaluate the car, grow the list according to your needs, divide your budget into items - the rest is patience.
Restoring a classic in a home garage is an adventure, and with the right order of tools this adventure is both safer and more economical. Start with the core set, grow step by step, know your limits, and learn where to bring in a professional. Who knows, maybe one day the car that comes out of your garage will be the star of a show too.
Sources
- Car Restoration Tools: Essential Equipment for Every Stage of a Build
- Classic Car Restoration Tools: What You Really Need
- Restoration Series: Tool Kit Essentials
- 5 Ways to Lift Your Classic Car off the Ground
- Restoration Gear: Essential Tools for Classic Car Projects
- Don't Restore Your Classic Car Without These 8 Tools!
- Beginning a Restoration Project from Scratch - List of Tools